Why Proper Preparation is Key to a Flawless Finish
Times Have Changed
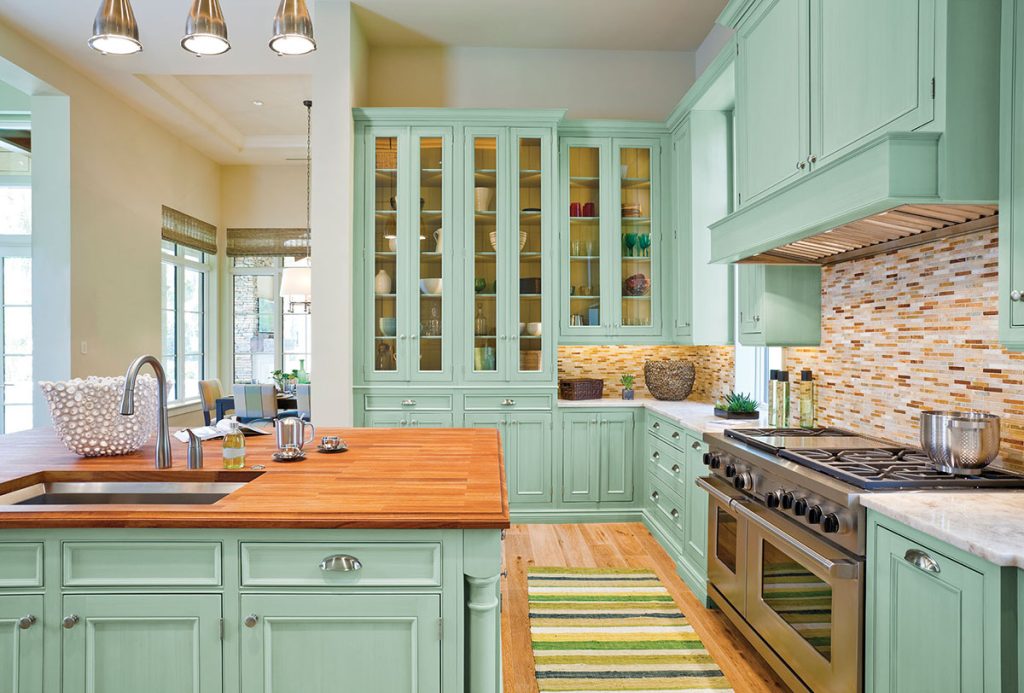
We have seen many different finish trends come and go. Currently, painted cabinet doors have become ultra-popular and are in high demand among consumers. So much so that painted cabinetry is up to 80% of some manufacturers’ output. With thousands of colors from which to choose, it’s the perfect way to express unique style and personality with minimal added cost compared to other home improvement projects.
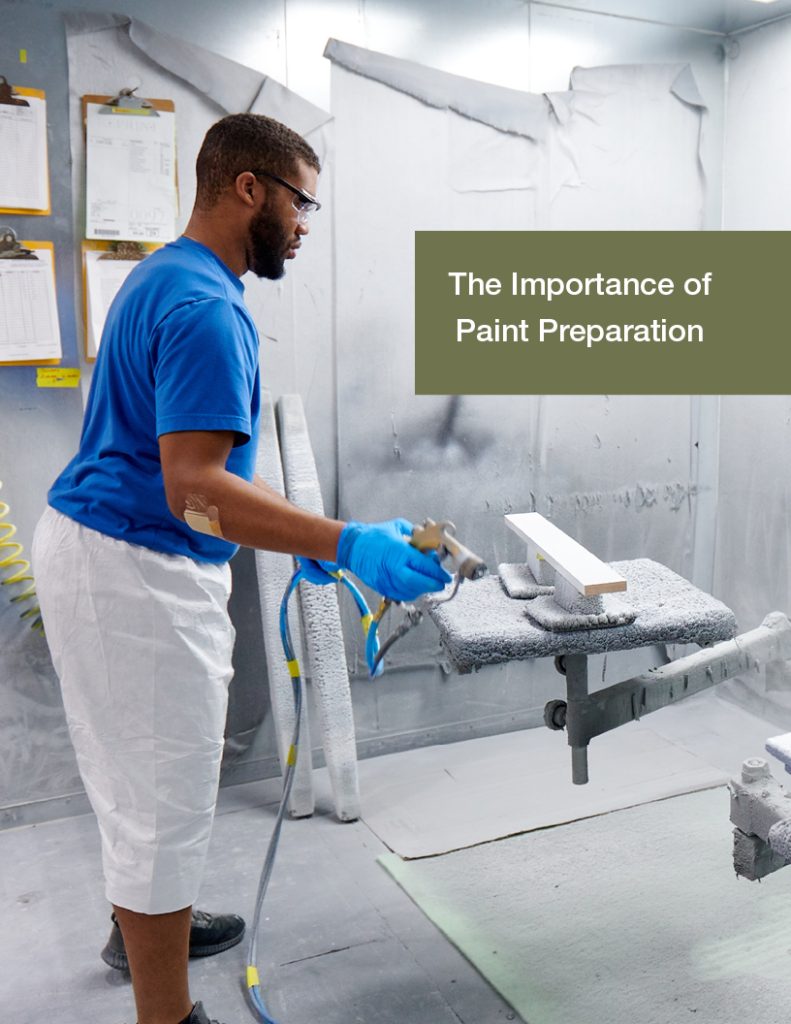
So, with this in mind, what is the most notable drawback to painting for a cabinet door finishing operation? Primarily the extra time, energy and coating materials involved in painting versus the more traditional stained cabinetry. Sometimes, even the most experienced finishers neglect the most important step in achieving the perfect kitchen cabinet door paint job: prepping and priming. Let’s start with cleaning — the first step in kitchen cabinet paint preparation.
How to Clean Kitchen Cabinet Doors for Painting
Before finishing your kitchen cabinet doors, make sure they are impeccably clean. To do so, mix a solution of warm water and mild, non-abrasive detergent or a specialized cabinet cleaner to tackle any grease buildup. Use a soft cloth or sponge to clean the surfaces gently. Pay close attention to grooves and crevices where dirt typically accumulates. After cleaning, rinse with a damp cloth to remove the degreaser completely. Lastly, dry the surfaces with a towel. Your workpiece is now ready for priming!
The Importance of Priming
One coat of primer and one coat of paint will give a superior, longer-lasting finish than two coats of paint. That is why it is recommended to prime first then paint. Generally speaking, paints are formulated with more pigments than resin to provide a vivid, pleasingly colorful coating. On the other hand, primers are resin-rich to provide the ideal foundation for paint.
A sealed, easily sandable surface is vital to getting the best paint result possible. A good builder would never construct a beautiful home without being sure there was a solid foundation to build on. In the same thinking, neither should a finisher start a project without a good primed surface.
Primer serves multiple purposes. Here are the main reasons why it should never be skipped when painting kitchen door cabinets:
- Adhesion: Primer provides a surface to which paint can securely adhere. Without it, the paint may peel, chip or fade prematurely.
- Color accuracy: A primed surface allows the paint’s actual color to show through without being affected by the wood’s original color.
- Uniformity: Priming helps achieve a uniform finish, which is especially important when working with porous materials such as wood.
- Protection: Primer offers extra protection to your cabinet doors, sealing the wood against moisture, dust and other environmental elements.
- Revealing imperfections: Primer helps reveal surface imperfections that should be corrected before paint is applied.
- Saves resources: A well-primed surface requires only one layer of paint for the perfect finish, saving time and resources.
For the best results, choose a primer compatible with the type of paint you intend to use and one suited for wooden cabinet doors.
Unleash Your Creativity With Unfinished Kitchen Cabinet Doors
Unfinished cabinet doors offer a unique opportunity for customization and personalization. By starting with a blank canvas, you can apply the stain, paint or finish that matches your design vision perfectly. To achieve the most satisfying outcome, you must put a lot of consideration into the preparation process.
How to Finish Cabinet Doors Like a Pro
Finishing cabinet doors is a task that involves attention to detail and carefully following best practices. Here are some tips to help you produce a professional-grade finish:
- Preparation: Begin by sanding the doors with progressively finer grits of sandpaper. Start with a coarser grit and work to a fine grit for a smooth and uniform finish. While sanding, remember to move in the direction of the wood’s grain to avoid scratches.
- Cleaning: Ensure the surface is clean of dust and dry before proceeding.
- Priming: If you intend to paint your cabinet doors, apply a coat of high-quality primer designed for the specific type of wood you’re working with.
- Painting: Refer to the section below for a step-by-step guide on how to paint kitchen cabinet doors. If staining, wipe off any excess stain with a clean cloth and allow it to penetrate the wood.
- Sealing: Once the paint or stain is dry, apply a clear top coat to protect the finish and improve its durability. Choose a product compatible with the underlying paint or stain and follow the manufacturer’s instructions carefully.
- Curing: Allow the finished doors enough time to cure before reattaching hardware or rehanging. This will allow the finish to harden and develop resistance to everyday use. Depending on the type of stain or paint, it may take a few days to cure entirely and achieve its most durable state.
How to Paint Kitchen Cabinet Doors
Given the significant role that painting plays in the overall aesthetic and durability of kitchen cabinet doors, approach this finishing step with attention and precision. A well-executed paint job enhances the visual appeal of your cabinet doors and protects them from wear and tear. Here is a step-by-step guide to help you achieve a professional-grade paint finish:
- Choose the correct paint: Select a paint formulated for cabinetry. These paints are more durable and resistant to wear, ensuring your cabinet doors can handle daily use without losing their luster.
- Use quality tools: Invest in high-quality brushes and rollers for a smooth finish. A small, fine-bristle brush can reach the nooks and crannies of intricate cabinet designs, while a microfiber roller provides efficient and even coverage on flat surfaces.
- Apply primer: After cleaning and sanding, apply a coat of primer. Allow it to dry according to the manufacturer’s instructions.
- Sand again: Sand the primed cabinet lightly to remove brush strokes or drips to ensure a smooth foundation for your paint.
- Paint with precision: Apply a single, generous coat of paint over the primed cabinet doors carefully. Work in sections using long, even strokes to reduce brush marks and achieve uniform coverage.
- Leave it to dry: Following the manufacturer’s instructions, give the paint ample time to dry.
- Maintenance: While paint may feel dry to the touch, it needs time to cure fully. Avoid cleaning or heavy use for several days to let the paint achieve its most durable state.
Contact Us Today for High-Quality Cabinet Door Finishes
At Conestoga Wood, we are always looking for new ways to assist our customers in meeting marketplace demands efficiently and effectively. Because preparing a painted surface is so important in a successful painting operation, Conestoga offers three priming options: Low Cost, Standard and Double Coat (white, light grey, medium grey or dark grey). These options will speed up throughput and reduce the amount of VOCs emitted from your paint process, allowing you to finish parts quickly with outstanding results.
Ready to get started on your next cabinet door remodeling project? Contact our expert team for high-quality paints and stains for your cabinet doors!